How to Install Drupal CMS to the Cloud
Drupal is a popular open source content management system. It’s adaptable and expandable, and it can be used to build everything from small personal blogs to massive business, political, and government websites.
Drupal can be readily installed and hosted in the cloud utilizing Jelastic PaaS automatic deployment or by following the manual installation procedures within an intuitive UI.
In this article, we will show you how to configure Drupal.
Drupal Automatic Deployment
If you don’t already have a Jelastic account, you can create one and have the Drupal CMS immediately installed by clicking the “Get It Hosted Now” button below. Specify your email address in the opening widget, then select one of the Jelastic Public Cloud providers and push Install.
Already registered users can utilize the dashboard to install Drupal through the Jelastic Marketplace.
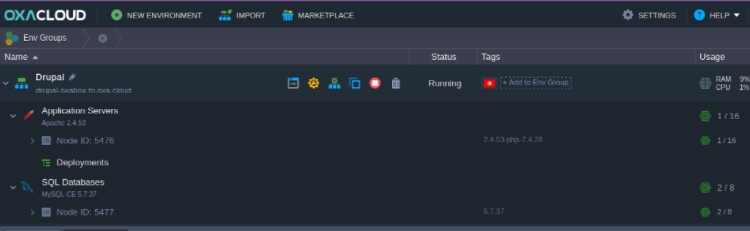
As a result, a new environment will be generated for you, complete with an Apache PHP application server and a MySQL CE 5.7 database, as well as the most recent Drupal application version.
Our JPS collection on GitHub contains the project sources.
Drupal Manual Installation
We’ll walk you through the steps to get your Drupal CMS application up and operating in the cloud in the guide below.
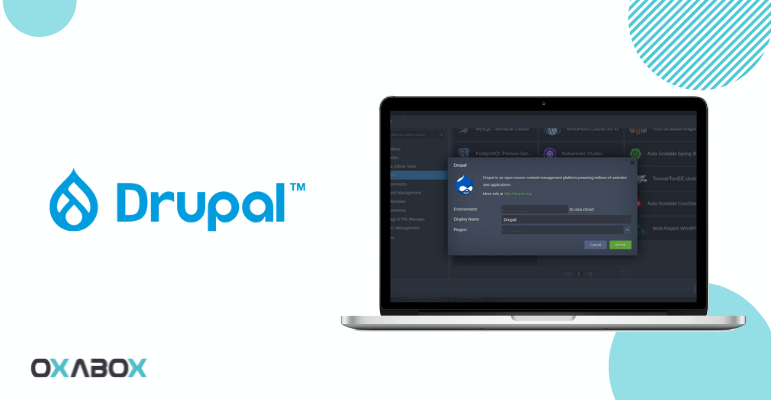
Create an Environment
![]()
2. Navigate to the PHP tab in the topology wizard and choose the needed application server and database stacks (Apache PHP and MySQL 8, in our case).
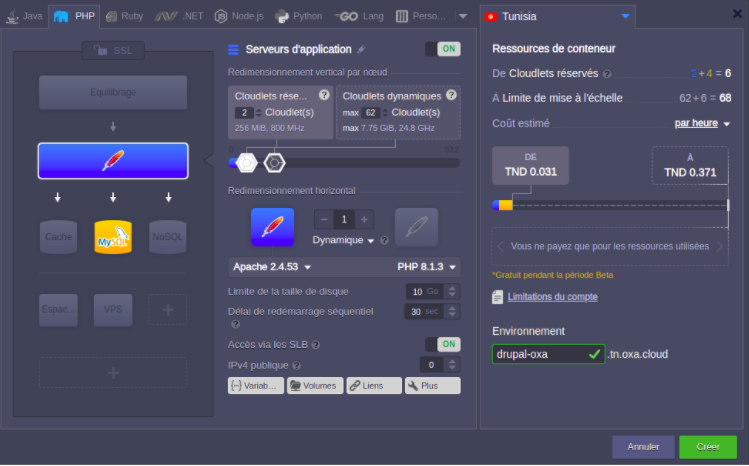
Other options (disk limit, public IPs, regions, and so on) can be customized to your needs before clicking Create.
3.After you’ve created your environment, go to the application server and click the Config button.

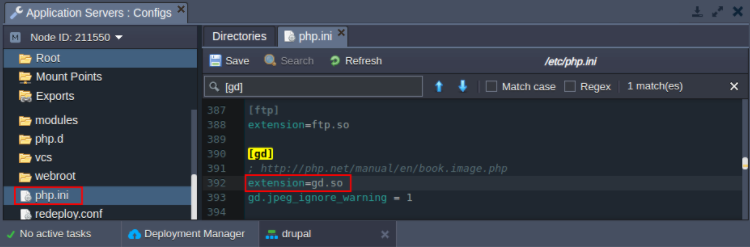
4.Use the php.ini shortcut in Favorites to easily access and change the file in the opened configuration file manager. To support Drupal installation, you’ll need to change a few PHP modules. Use the search function to quickly find the appropriate extension:
By eliminating the semicolons at the beginning of the line, you can activate the extension=gd.so and zend extension=/usr/lib64/php/modules/opcache.so modules, as well as disable or comment the mbstring.
Encoding translation = On encoding translation = On encoding translation = On
5. Remember to Save and Restart Nodes for the Apache server to make the modifications.

Let’s now construct a database specifically for your Drupal installation.
Configure Database
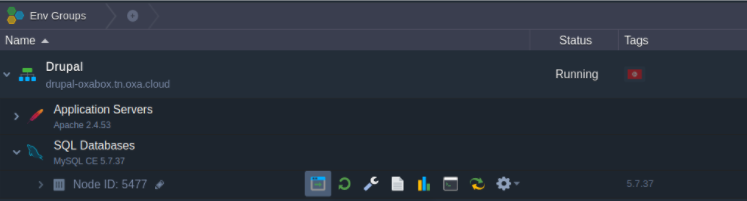
1.Next to the database node, click Open in Browser (MySQL in our example).
 2
2
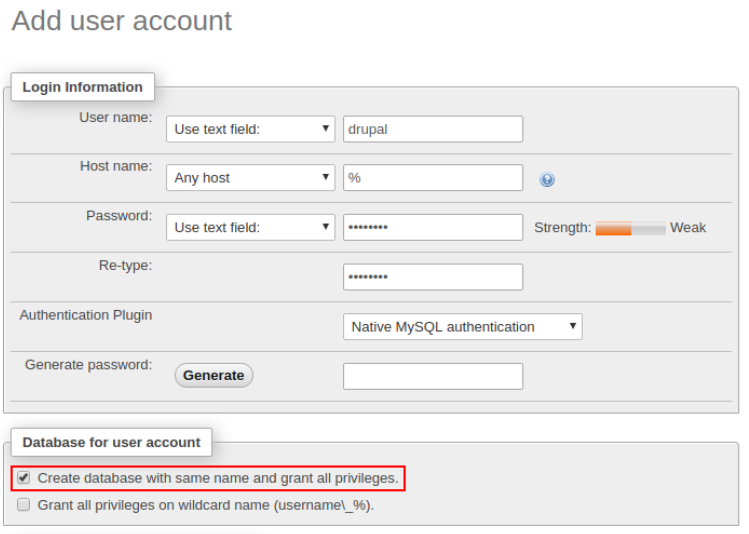
2.Use the credentials from the corresponding email to log in to the admin panel. To create a new user account, go to the User accounts tab and select the Add user account option.
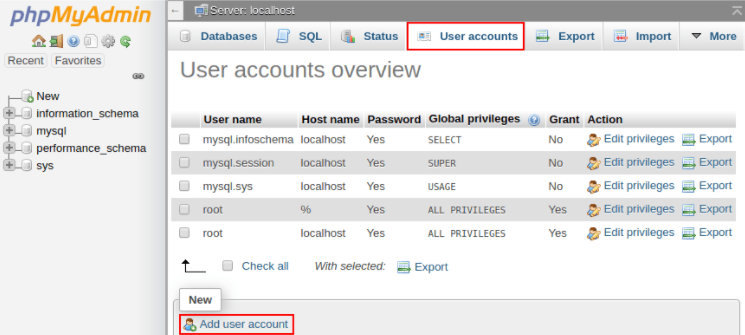
3. Fill in the User name (e.g. drupal) and Password fields in the opening form. Check the box to create a database with the same name and allow all privileges, then click the Go button at the bottom.
After that, go back to the dashboard and deploy the Drupal package.
Deploy & Install Drupal
1.Download the newest version of the application package (.zip archive) from the official Drupal website or use the direct link to install it.
2.We’ll utilize the Composer tool (pre-installed for both Apache and NGINX PHP servers) via the Post deployment hook to automatically resolve the required dependencies for your project.
cd $WEBROOT/{project_name}
compose install
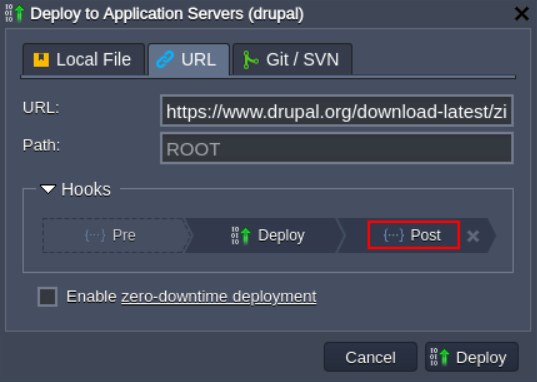
Replace project name with the context (Path) you’ve defined for the project in this code (ROOT by default).
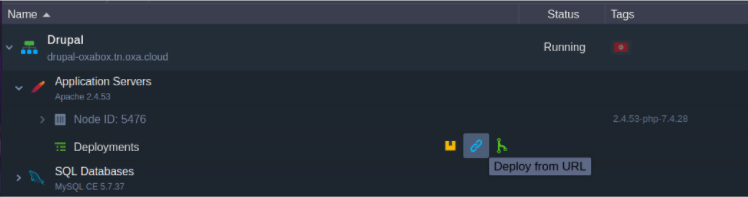
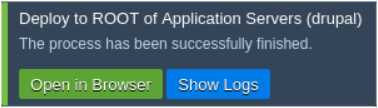
3.After the package has been deployed, open your application in a browser (either from the pop-up or next to the application server node)
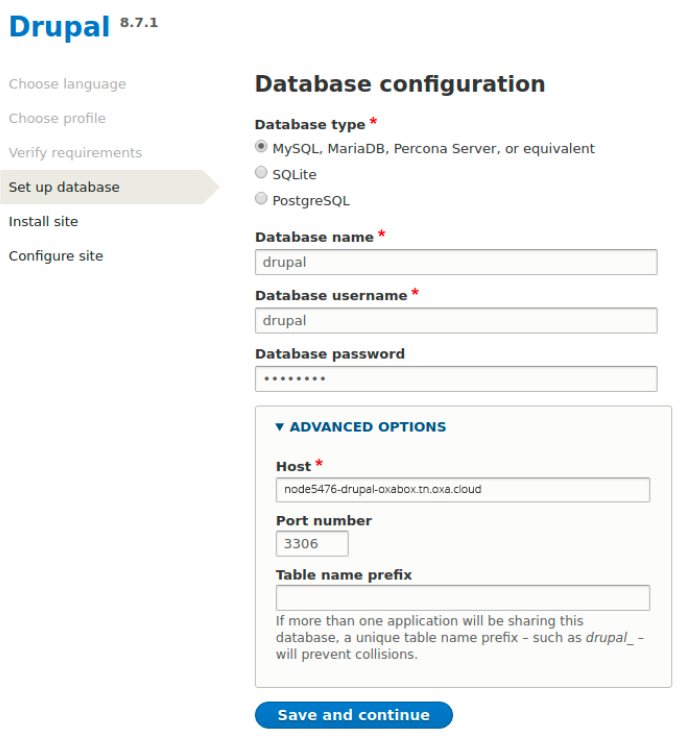
After that, provide the database connection information:
- Select the right database (MySQL/MariaDB, PostgreSQL, or SQLite) from the drop-down menu.
- Type the credentials you used to create the database in the Configure Database part of this guide: database name, database username, and database password.
- Link to your database without the protocol part in Advanced Options > Host (can be seen in the appropriate email)
To continue with the Drupal CMS installation, click the Save and Continue option.
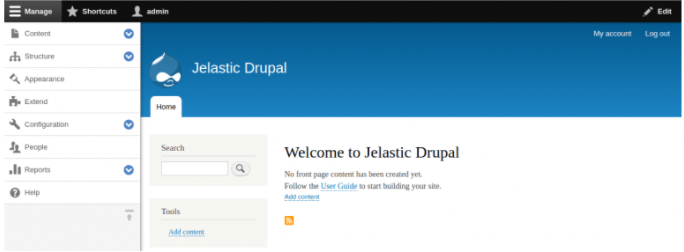
5. Finish by entering your site’s details (name, email, admin login/password, and so on). You will be brought to the top page of your new site after clicking Save and Continue.
Drupal is an excellent solution for high-traffic enterprise projects. It allows you to manage any aspect of your website in the cloud, from adding content and graphics to updating a product catalog, collecting credit card payments, and taking online reservations. Get it hosted with Jelastic PaaS at one of the many service providers across the world.
Need expert advice? Contact us, and we will be happy to answer you and help you find the right hosting for your website.