How to migrate a WordPress site to the OXABOX PaaS platform
This article is for those who want to migrate their WordPress websites to the Oxabox PaaS platform using preconfigured WordPress packages. The steps are simple and the migration flow is completely secure.
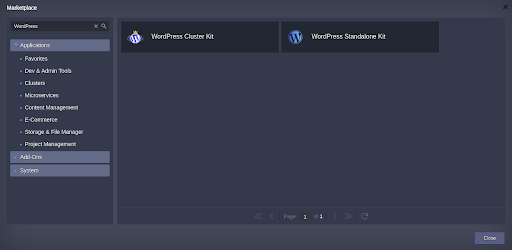
1.Log in to the Dev Panel platform and go to the Marketplace to establish a new WordPress environment (cluster or stand-alone). Note that a clustered solution is only offered to billing customers.
2.Log in to your application server via SSH and generate a key pair with the ssh-keygen command.
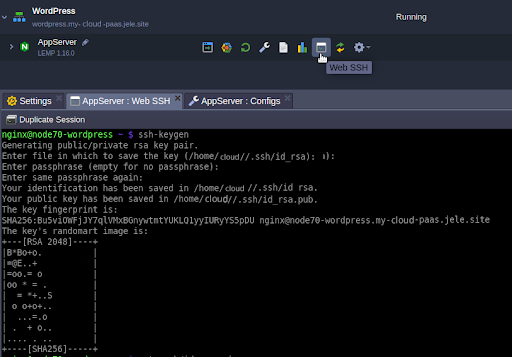
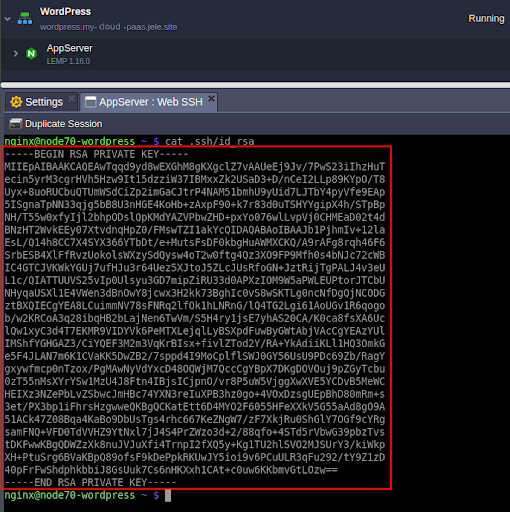
3.Use the command to display the newly generated public keyThen select and copy its contents to the clipboard with the shortcut Ctrl + Shift + С (or Сmd + C)
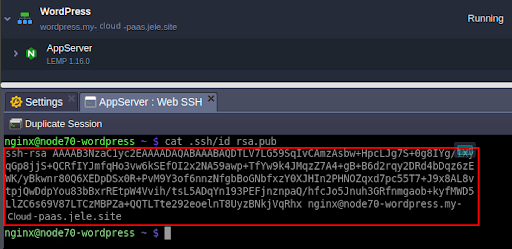
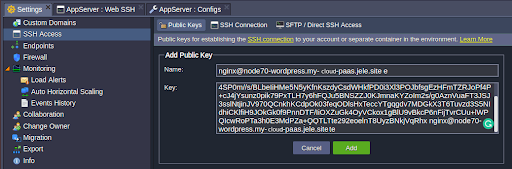
After that paste the public key from the clipboard into the WordPress environment.
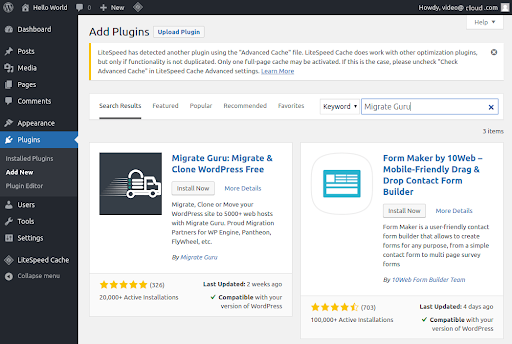
4. Log in to the admin panel of the original WordPress website. Migrate Guru is a plugin that can be found, installed and activated.
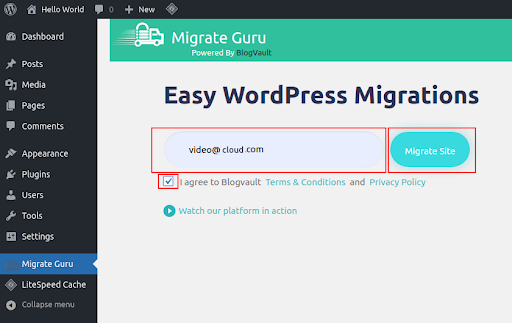
5. Select the plugins tab, enter your email address, accept the terms, and click Migrate Site.
6. Dans la page ouverte, sélectionnez le protocole FTP.
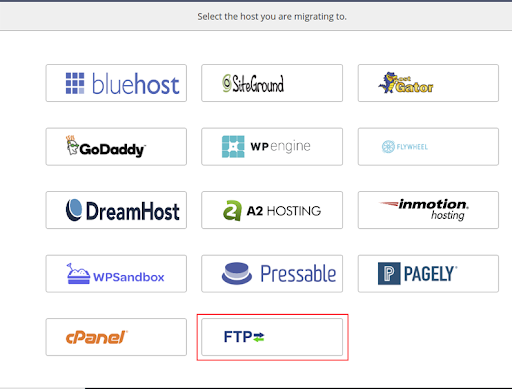
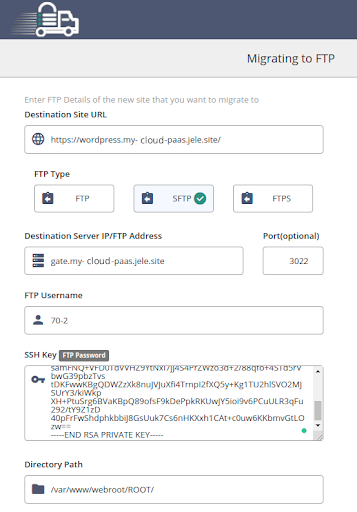
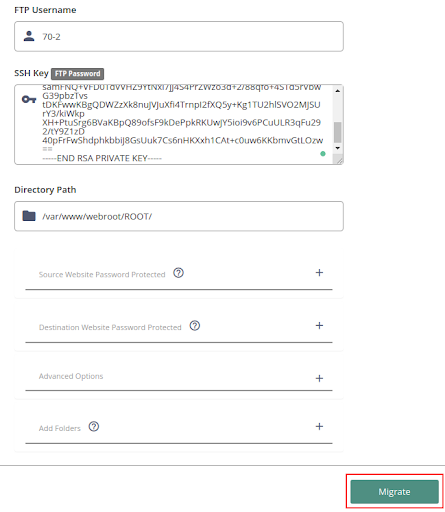
7. Finally, select the SFTP secure file transfer protocol by filling out the form.
Or :
A link to a new WordPress site is called the destination site URL (custom domain or default domain provided by our cloud platform after the environment is created). In our case, the domain is wordpress.my-Cloud-paas..site.
- SFTP protocol to ensure secure migration.
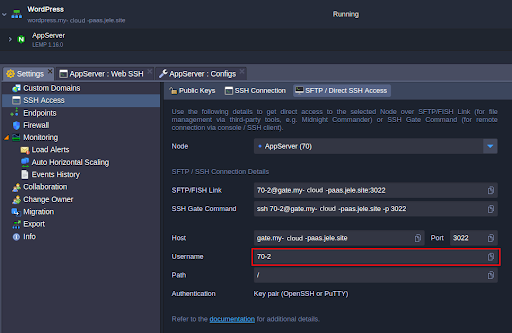
- The Host and Port fields in the SSH Access section of our cloud platform dashboard can be used to obtain the IP / FTP address and port of the destination server.
In our case, the FTP username should be obtained from the corresponding field with an automatically created username of 70-2.
The SSH key is a private RSA key that you created in step 2. With the shortcut Ctrl + Shift + C (or Cmd + C) in the destination environment, you can choose it and copy it from the file .ssh / id of the user’s home directory. rsa.
The WordPress application is installed in the directory path. This is the / var / www / web root / ROOT / directory in the cloud platform.
Finally, scroll down and select Migrate from the drop-down menu.
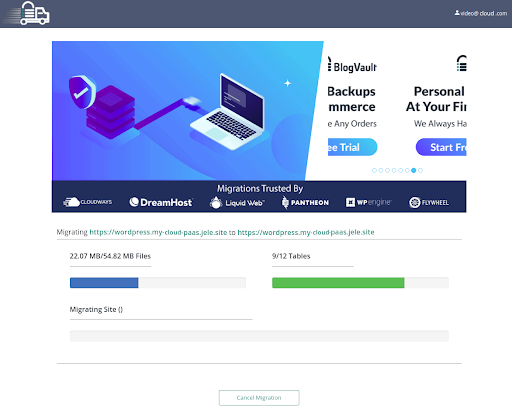
8. After successful data validation, the migration process begins.
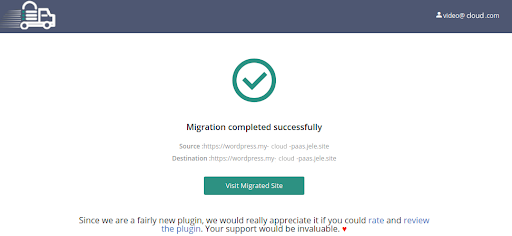
9. When the procedure is complete, navigate to your new migrated website by clicking the Visit migrated site option.
That’s it! Take advantage of the performance and availability of the Cloud PaaS platform based WordPress site on a global network of service providers. If your situation requires a tailor-made solution or if you need support during the move.Need expert advice? Contact us and we will be happy to answer you and help you find the right hosting for your website.